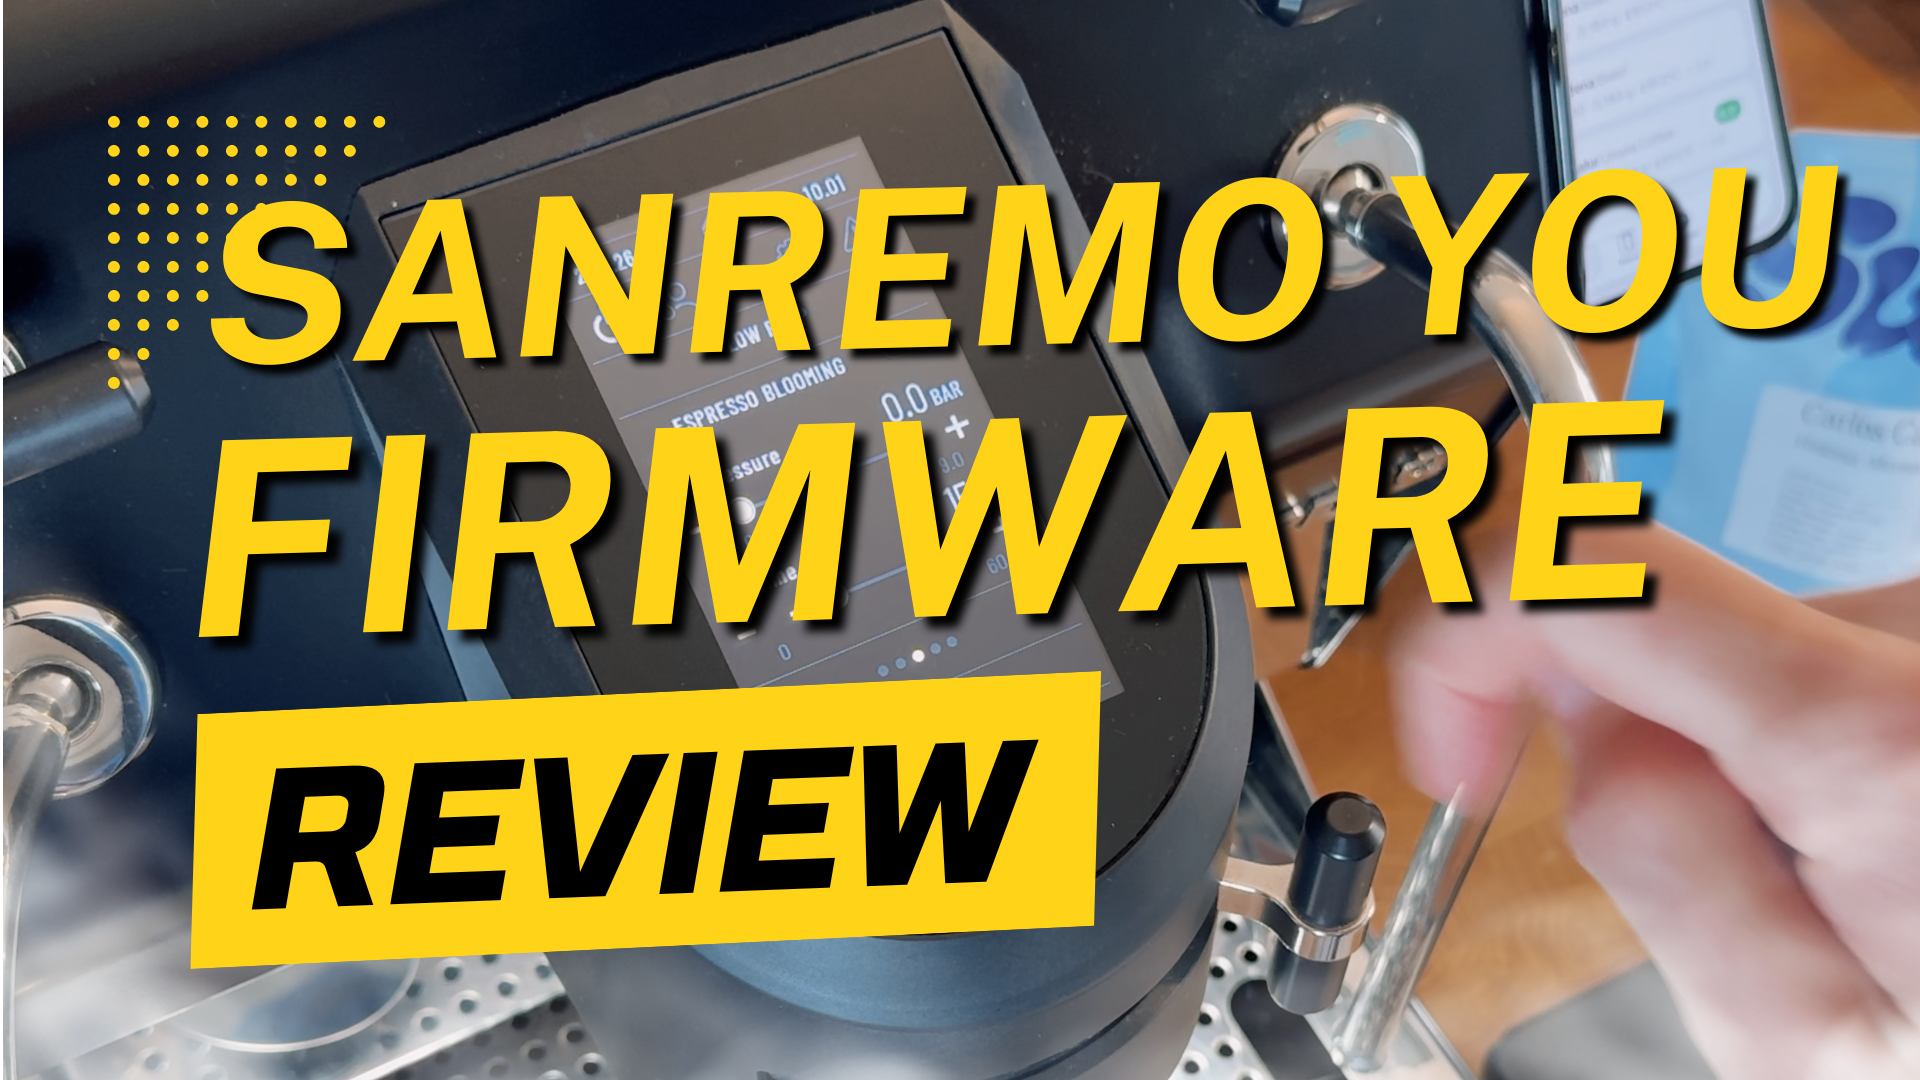
The wait is finally over! Sanremo has just delivered a massive new firmware update for the Sanremo YOU, bringing the display firmware up to version 2.13 and the power board to 3.10.
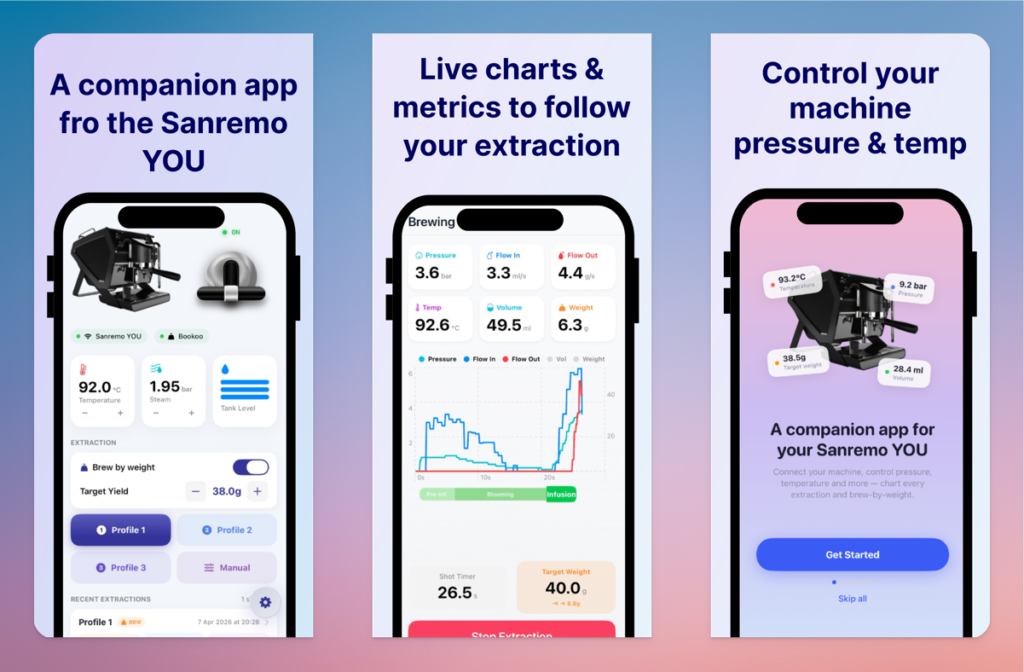
EDIT: I’ve developped an iOS companion app for the Sanremo YOU enabling Brew-By-Weight feature, live extraction metrics & charts as well as remote control of the group head temperature & steam wand pressure.
To say this update was highly anticipated is an understatement. It brings game-changing features for light and medium roast lovers, primarily by introducing dedicated blooming controls. But before you run to grab your USB stick, we need to have a serious talk about what happens when you install it.
⚠️ The Big Warning: Back Up Your Settings!
I cannot stress this enough: this update requires a factory reset. Because the entire recipe database structure has changed from previous versions, all of your existing data and recipes will be completely wiped.
This means:
- Your custom extraction profiles will vanish.
- Your machine’s auto on/off time slots will be reset.
- Your custom paddle functions (like the steam wand purge) will revert to factory defaults.
Do yourself a favor: Grab a notebook or your phone and write down your favorite profiles and machine settings before you start the update!
How to Update Your Sanremo YOU via USB
The update process itself is thankfully very straightforward once your settings are safely recorded. Here is how to do it:
- Prep your USB: Find a USB pen drive formatted to FAT32 (max size 32 GB).
- Add the files: Copy the
image.binandMidi.binfiles directly onto the USB drive. Ensure they are NOT zipped and are not placed in any subfolders. - Install: Turn off the machine, insert the USB drive into the left side, and turn the machine back on.
- Wait for 100%: You will see vertical text and a percentage value on the screen; wait for it to reach 100% (this takes about 2 minutes).
- Restart: Once prompted, turn off the machine, remove the USB drive, and power it back up. After the update, you will also need to execute a quick paddle calibration.
Unlocking the Magic: PRO Mode
When your machine reboots, you’ll be greeted by a slick new “Hello Barista!” welcome page. To get to the good stuff, dive into your Display Settings and switch your User Mode from “Standard” to “PRO”.
While Standard mode keeps things simple and disables blooming , PRO mode unlocks everything. You get an additional homepage, a 5th extraction page, and full access to the new blooming capabilities.
Mastering the Blooming Phase
Blooming allows the trapped CO2 in fresh coffee to escape before high pressure hits, resulting in increased sweetness, balanced acidity, and a massive reduction in astringency. Here are the two ways you can use it:
1. Manual Blooming with the Paddle (The Pro Tip!)
If you love manual extractions, you can now trigger a bloom phase on the fly. Just tap the new BLOOM icon on your screen. The pump will completely shut off (or drop to line pressure if you’re plumbed in) and a countdown timer will appear.
🔥 Massive Pro Tip: During the blooming phase, you don’t have to just sit there! While the timer is counting down, you can physically move the paddle to the next pressure stage you want to hit (for example, sliding it from 3 bar up to 7 bar). When you tap the BLOOM button again to exit the phase, the machine will automatically ramp right up to that new setpoint. It is incredibly smooth.
2. The Recipe Builder & Ramp Speeds
If you prefer to automate your mornings, the custom recipe builder now features an “ESPRESSO BLOOMING” stage. This adds a 4th pressure stage right after pre-infusion, where you can set the pressure anywhere from 0 to 9 bar for up to 60 seconds.
What I love most here is the new Pump Speed control. By tapping the arrow icon, you can dictate exactly how fast the machine transitions from the bloom into the main infusion :
- Slow (
>): Gentle pressure buildup for increased sweetness and a syrupy mouthfeel. - Mid (
>>): A balanced approach for clarity. - Fast (
>>>): High initial pressure for higher acidity and more “punch”.
Post-Brew Graph Analysis
After you pull your shot, jump into the last shot graph. During programming, your blooming stage is now clearly highlighted by a bright orange bar on the graph. This visual feedback is perfect for understanding exactly how long your coffee was degassing before the main extraction took over.
What About the Beanconqueror Integration?
If you’ve read the full changelog, you probably noticed the update also introduces API/WEBSOCKET capabilities to integrate with third-party apps like Beanconqueror for Brew-by-weight features using compatible scales.
I am intentionally skipping that today! I am currently working with the Sanremo team and hoping to demo this exact native integration directly within The Baristapp app very soon. Stay tuned for that dedicated guide!
Leave a Reply